Sunday, November 17, 2024

Week of 11/11/2024 - 2nd and 3rd grades

 This week I was grateful for a parent volunteer who took 8 Amazon boxes home over the weekend to cut them into 1"-2" strips for a sculpture lesson I had been wanting to implement with 2nd graders! 

We used artist Ugo Rondinone's "Seven Magic Mountains" sculpture as our inspiration and discussed what we saw - the rocks stacked one on top of each other, the bright colors, how people could walk around them and how these looked extremely tall!! Some students had visited this installation and recognized that this was near Las Vegas :)


Each student was given a small cardboard base and 3 cardboard strips. They used a warm color paint stick to color one side and a cool color for the other side. Once dry, they folded their strips and brought it to me to hot glue the pieces. Once their strips were stacked, students used black and white tempera paint to create line and dot patterns while making sure their work looked complete from all sides. I love how these turned out!


3rd graders started on a weaving and motif making lesson - this is one of my favorite lessons to teach!!

We looked at an example of fabric with motifs repeated and had a class discussion about what we saw. Students shared that they saw patterns, they guessed this was a rug/ carpet and noticed the organic and geometric shapes in the example. 


Once done, I introduced the words cloth/ fabric/ textile and had students look at a piece of fabric through a magnifying glass so they could see how the clothes we wear are created from yarn that is woven. I also shared my Saree from India and a video of a weaver weaving a Saree on his loom.

Next we practiced drawing 10 different lines and 10 different shapes and combined them to create 4 motifs incorporating at least 2 different lines and 2 different shapes. We selected 2 of our favorite motifs to use in our woven work.

Each student was then given a piece of 18" x 24" construction paper folded in half with lines drawn 2 inches apart. They cut on these lines and started weaving 3 2 inch paper strips by going over and under and gluing the ends. We will continue this lesson next class.


Week of 11/4/2024 - UTK, Kinders and 1st grade

 UTK returned this week to create an artwork by mixing primary colors to create secondary colors inspired by the book "Mouse Paint". On a 8" x 18" piece of watercolor paper with 3 rectangles, students traced 3 circles using a template. They created a smaller circle inside it and a bigger circle outside of it. Each student was given a paper plate with the 3 primary color tempera paint. They painted the background in each of the 3 primary colors. Once done, I added yellow to blue, blue to red and red to yellow for students to mix and created the 3 secondary colors to paint in the spaces between the circles and complete the work.


Kinders created a city scape artwork after having a discussion comparing a photo of a village with a city. We had a class discussion comparing villages and cities - they noticed how the former had short houses while the latter had tall buildings. We agreed that San Diego is a City as it has too many cars, trucks, buses and is crowded and noisy!

  Students used paper rectangles, overlapped and glued them. They added details like the stars and moon in the background and windows and doors on the buildings.


1st graders created monochromatic landscapes! We looked at several examples and discussed how artists sometimes use one color and add white to create tints and black to create shades in their work instead of using different colors. We drew 4 wavy lines and a moon on a 9"X 12" piece of watercolor paper with pencil. Each student was given a small cup with a different color tempera paint. We turned our paper upside down and painted the first section in the color give. Once done, we added white to our color to create tint #1 and painted the second section and so on. We left the moon white. Students loved mixing white to their color each time. Once dry, students, used a brown crayon to add trees to complete their work.


Thursday, November 14, 2024

Week of 10/28/2024 - UTK, K and 1st grade

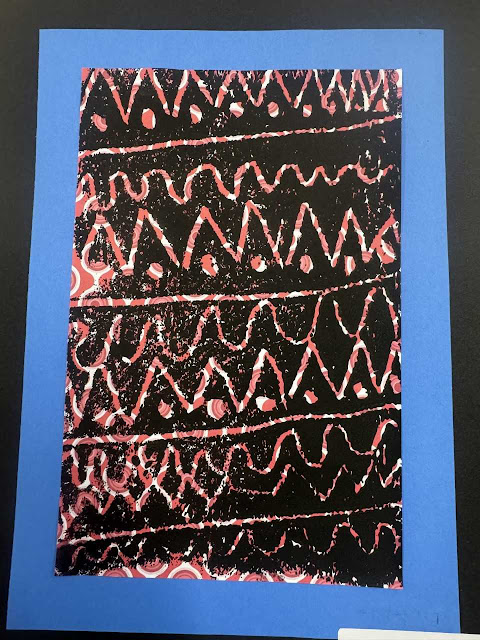
This week UTK students worked on printmaking. Each student was given a 6"x9" piece of styrofam on which they created line patterns. We pressed the pencil not too hard to avoid the styrofoam getting ripped. We used printmaking ink to roll on the patterns with a brayer. Students pressed a piece of color/ pattern paper on the styrofoam and peeled it back to reveal their pattern. 


 Kindergarten students created a mixed media work of a sunflower on watercolor paper. We first compared and contrasted  a photograph of sunflowers and a painting of sunflowers by artist Vincent Van Gogh. Students noticed how one was outside, the other inside on a table, the real flowers had a brown center while the painting had a green center and so on. Once done, students first traced the center using a template and added the petals, stem and leaves.  We used oil pastels to add colors and blended them in to achieve a natural effect. We used broken lines to create the outlines. Students use glitter water colors to paint the background and complete their work.


1st graders created a sculpture inspired by the glass blown works of artist Dale Chihuly. We first looked at examples of his work and discussed what we saw and guessed the material the works were made from. We also saw an interesting video of the artist blowing glass and creating beautiful forms. Each students drew lines using a black Sharpie on a transparency. They then used chisel tip Sharpie markers to color them in. Students then cut on the lines, I helped punch holes on each piece. They threaded their pieces on to a wooden dowel that was glued into a hole on a 2" wooden block. We added a wooden bead at the top of the dowel so the pieces would stay in place and not unravel.This was a high engagement and successful lesson - students were thrilled at how their sculpture created color shadows outside in the sun!


Sunday, November 3, 2024

Week of 10/14/2024 and 10/21/2024 - 4th and 5th grades - 2nd rotation

 4th and 5th graders returned for their 2nd art rotation with me!

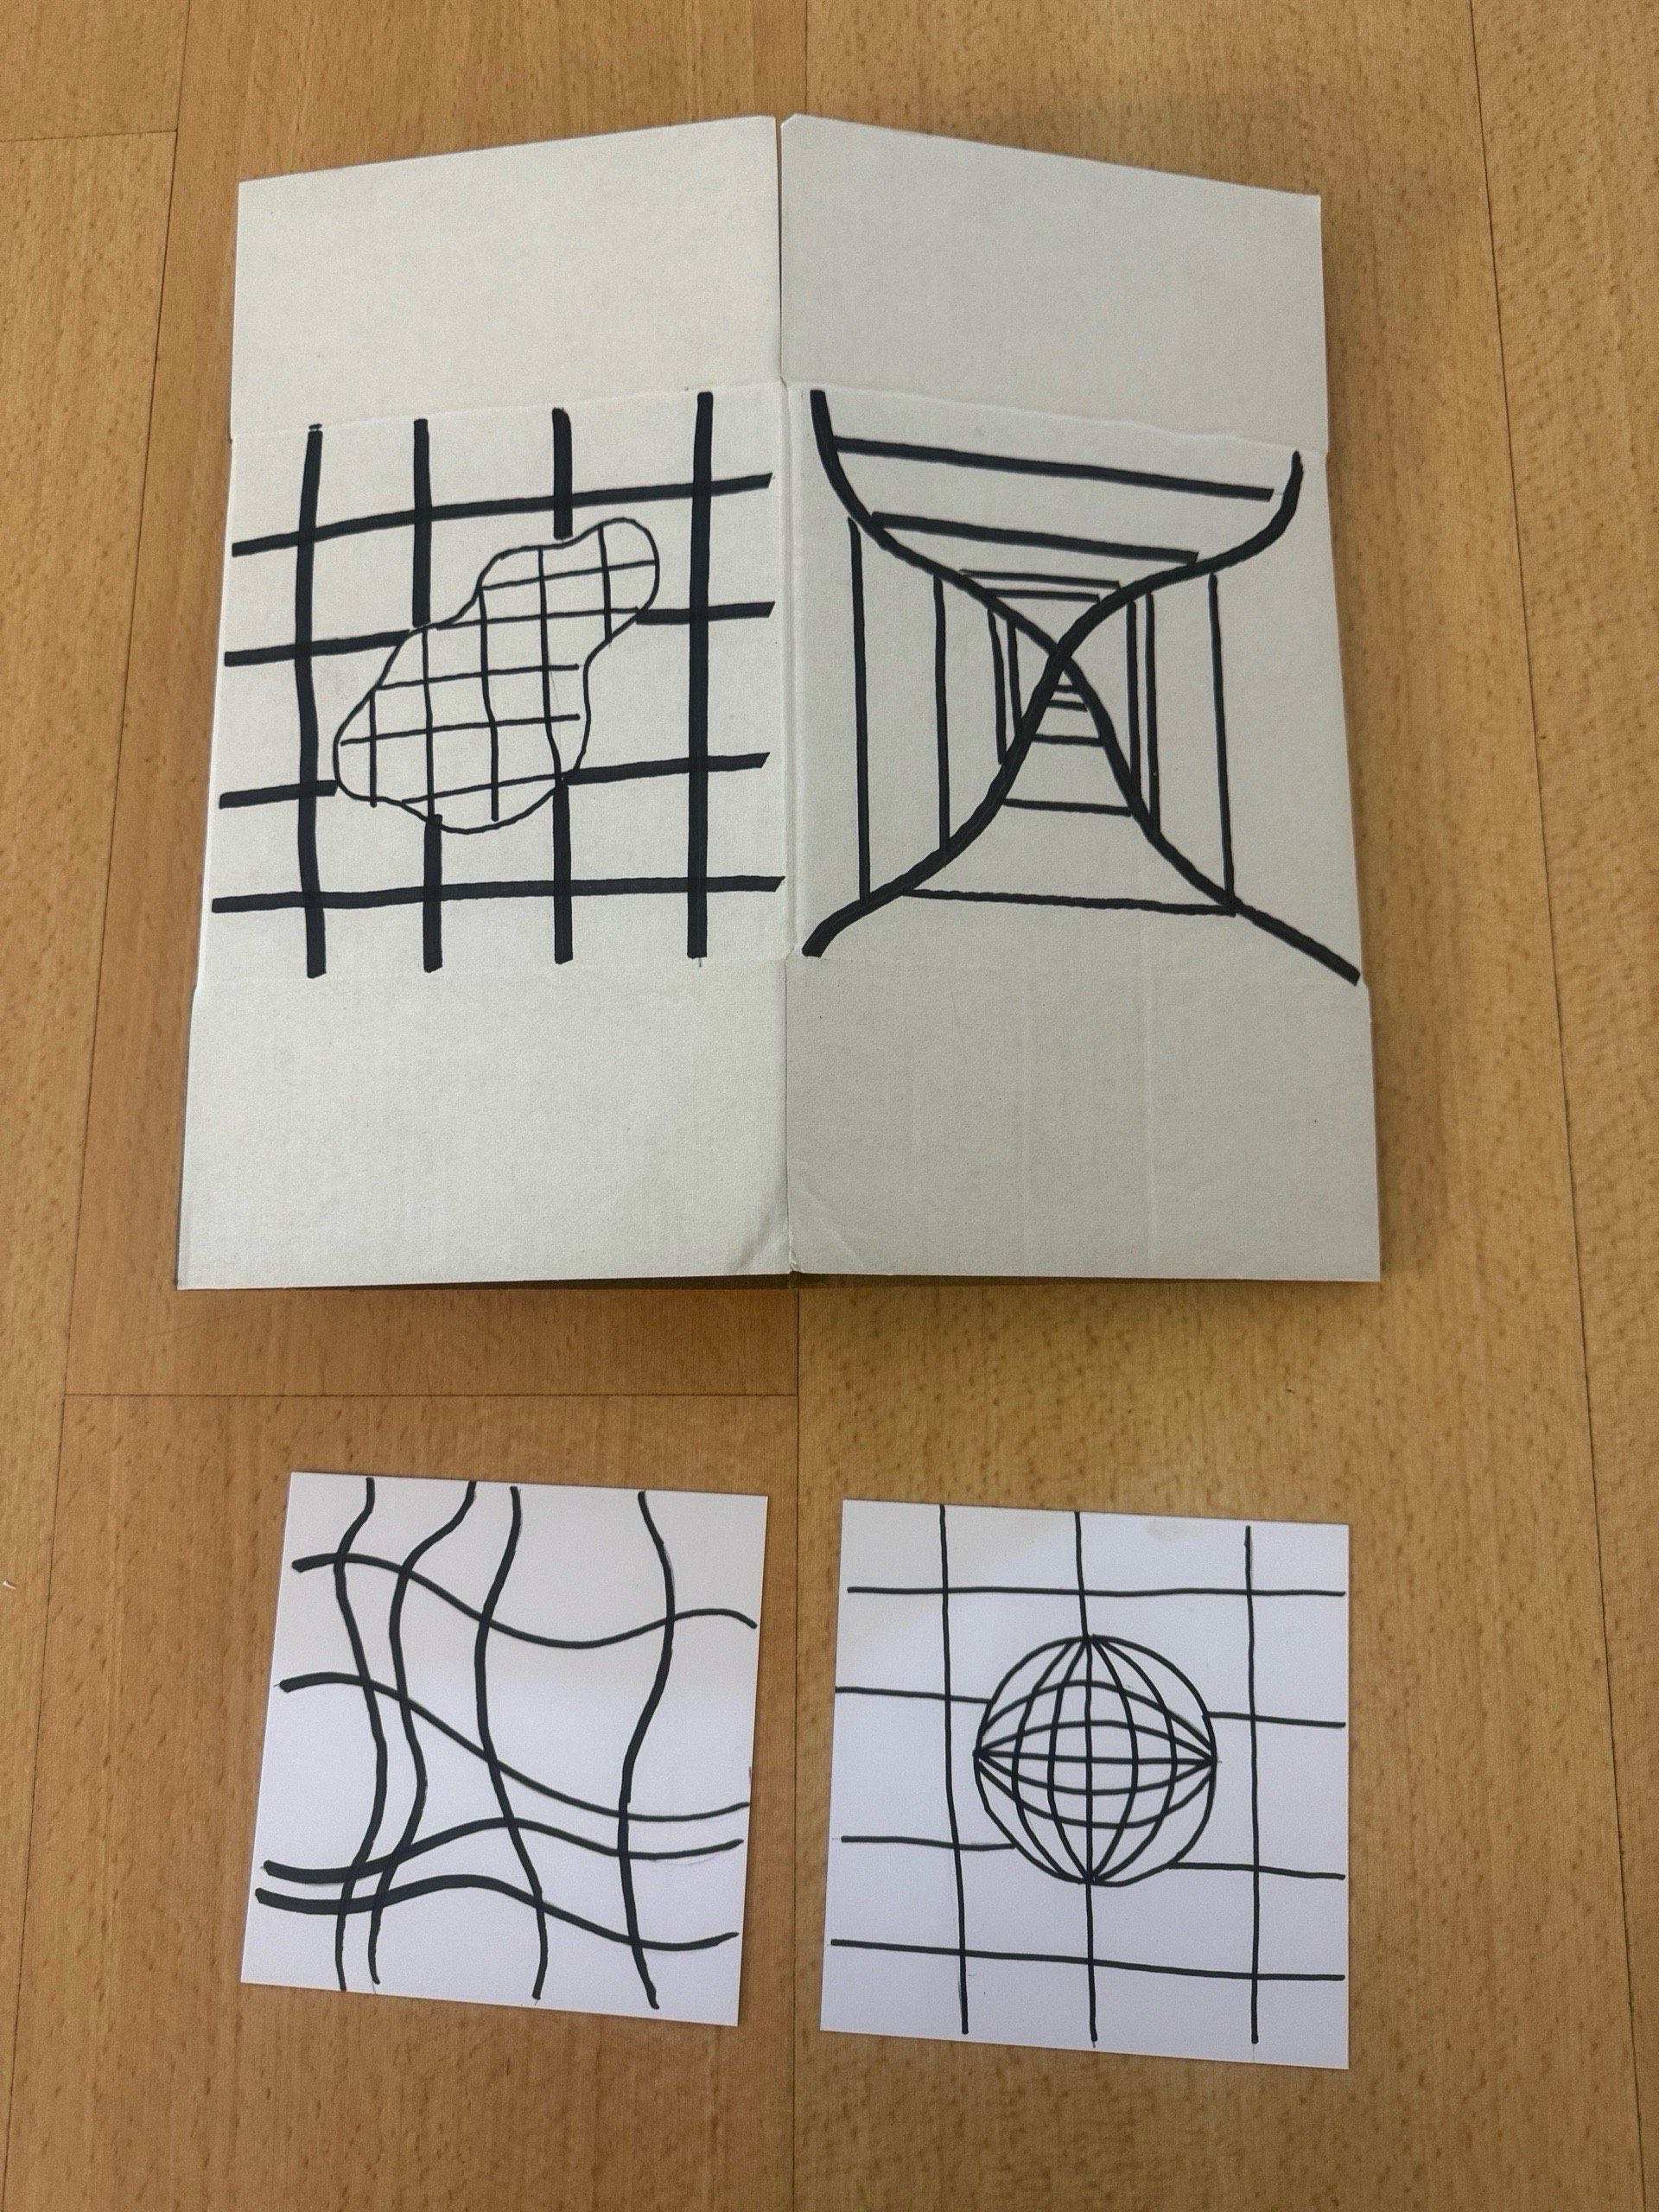
4th grade students looked at works by Op artists and we had a class discussion about how the artists used lines, shapes and colors to "trick the eye into believing something that they see was actually not there" in the words of students. Students loved looking at the works by Bridget Riley, Victor Vasarely and Joseph Albers and took their time seeing how the artists created movement using simple techniques like changing the spaces between lines, varying the size of shapes and changing the lightness of the colors to create interesting works.

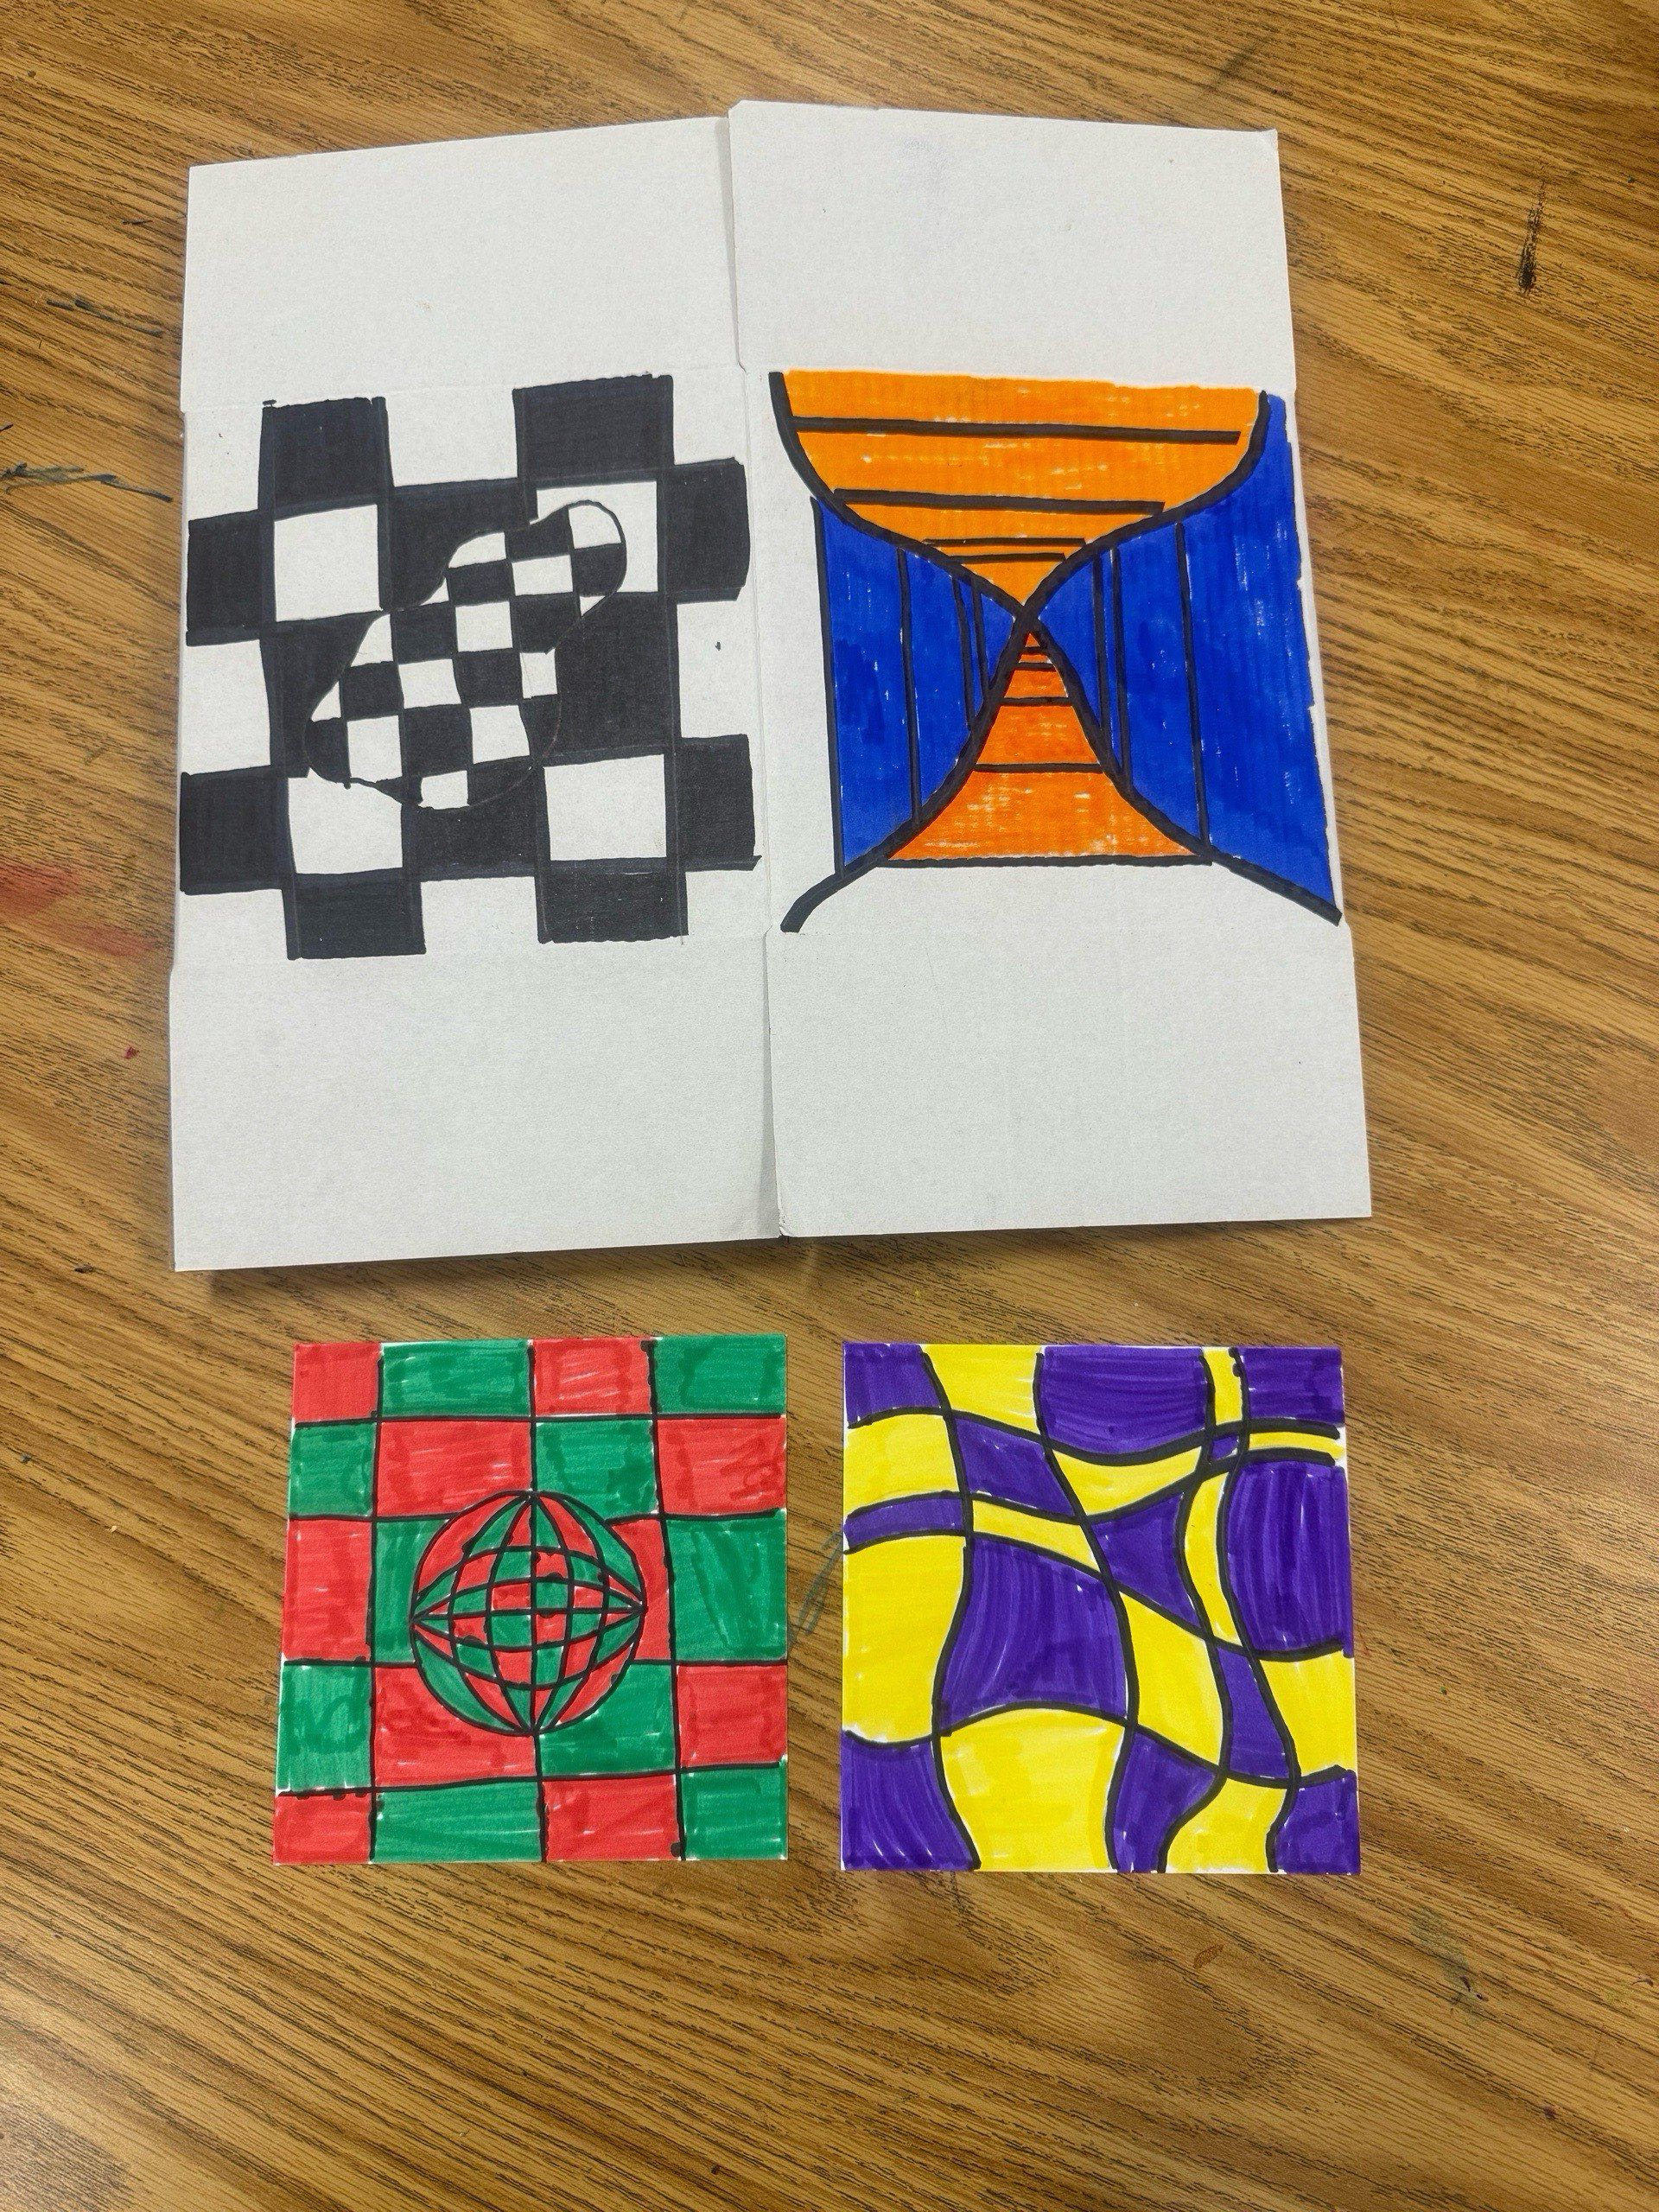
On a white piece of paper with six squares, we created 6 different Op art designs using a pencil as a warm up. Each student was then given a 6" cube (box). They traced 4 designs on the 4 different sides of the box and the last 2 on 2 white paper squares.


The next class students traced their 6 designs with a black Sharpie and added color to the different designs using paint sticks and/ or crayons. We put the boxes to together by taping the flaps and used double sided tape to add the 2 squares to complete our Op art cubes!


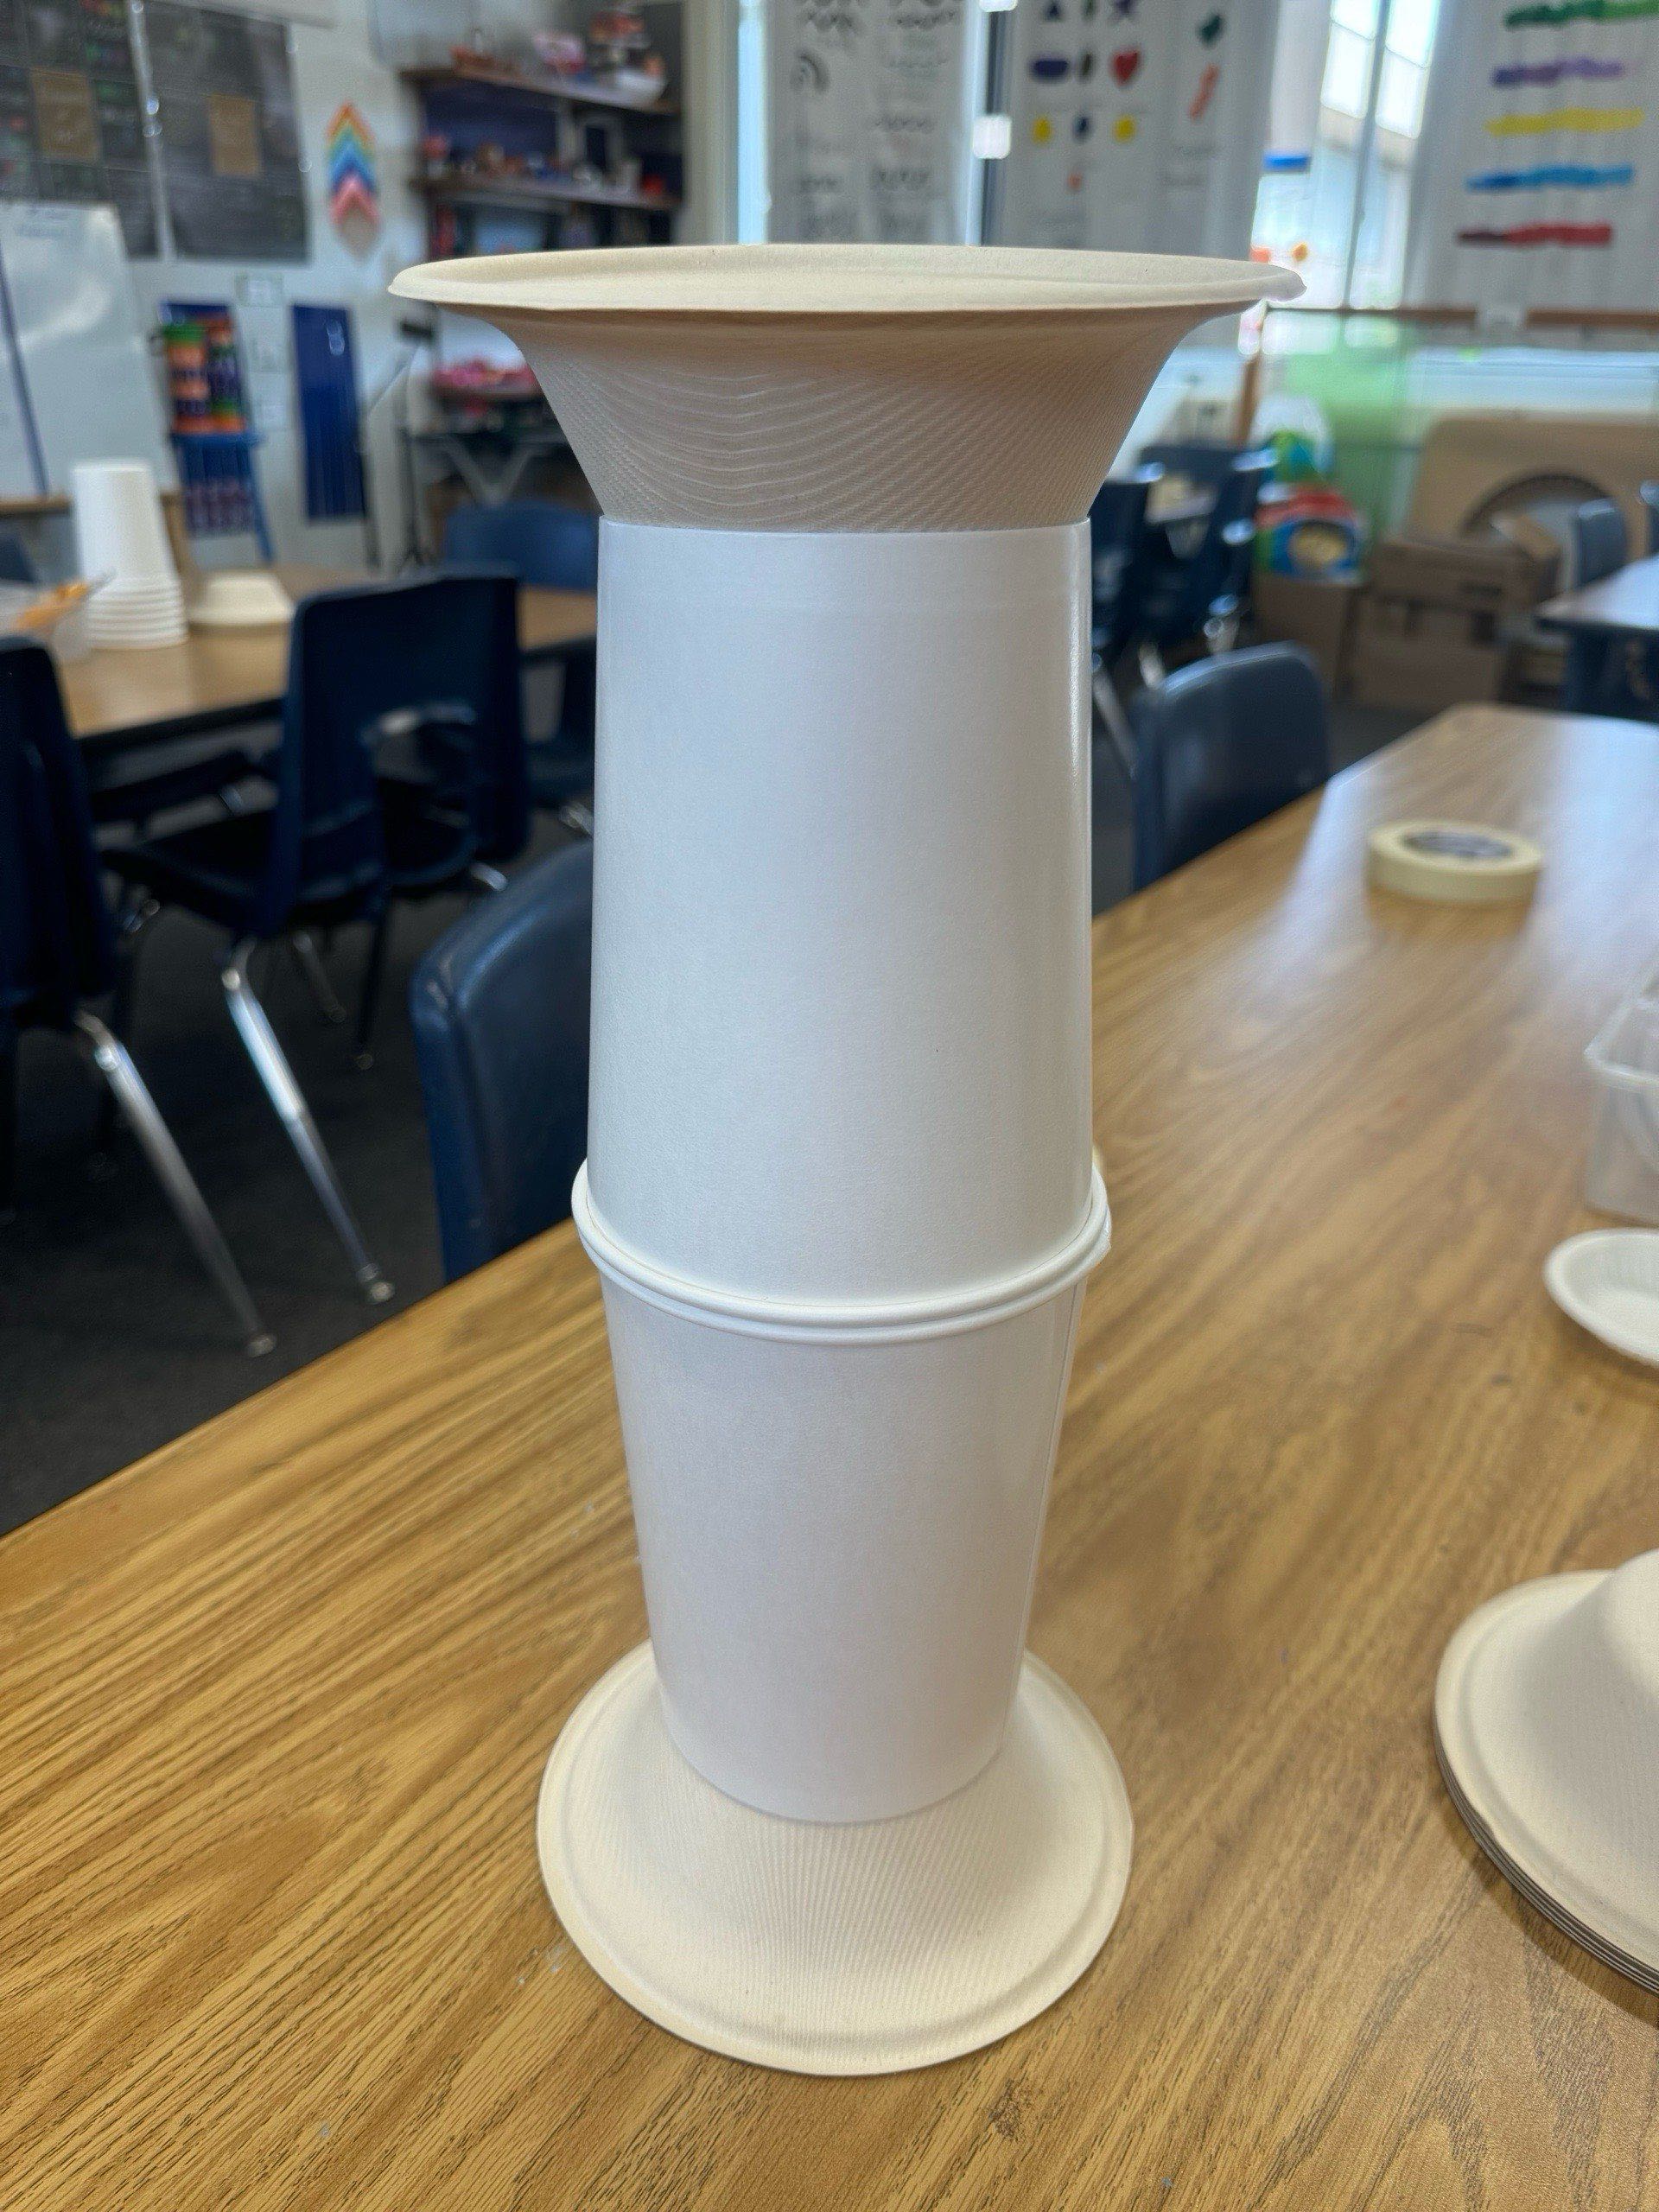
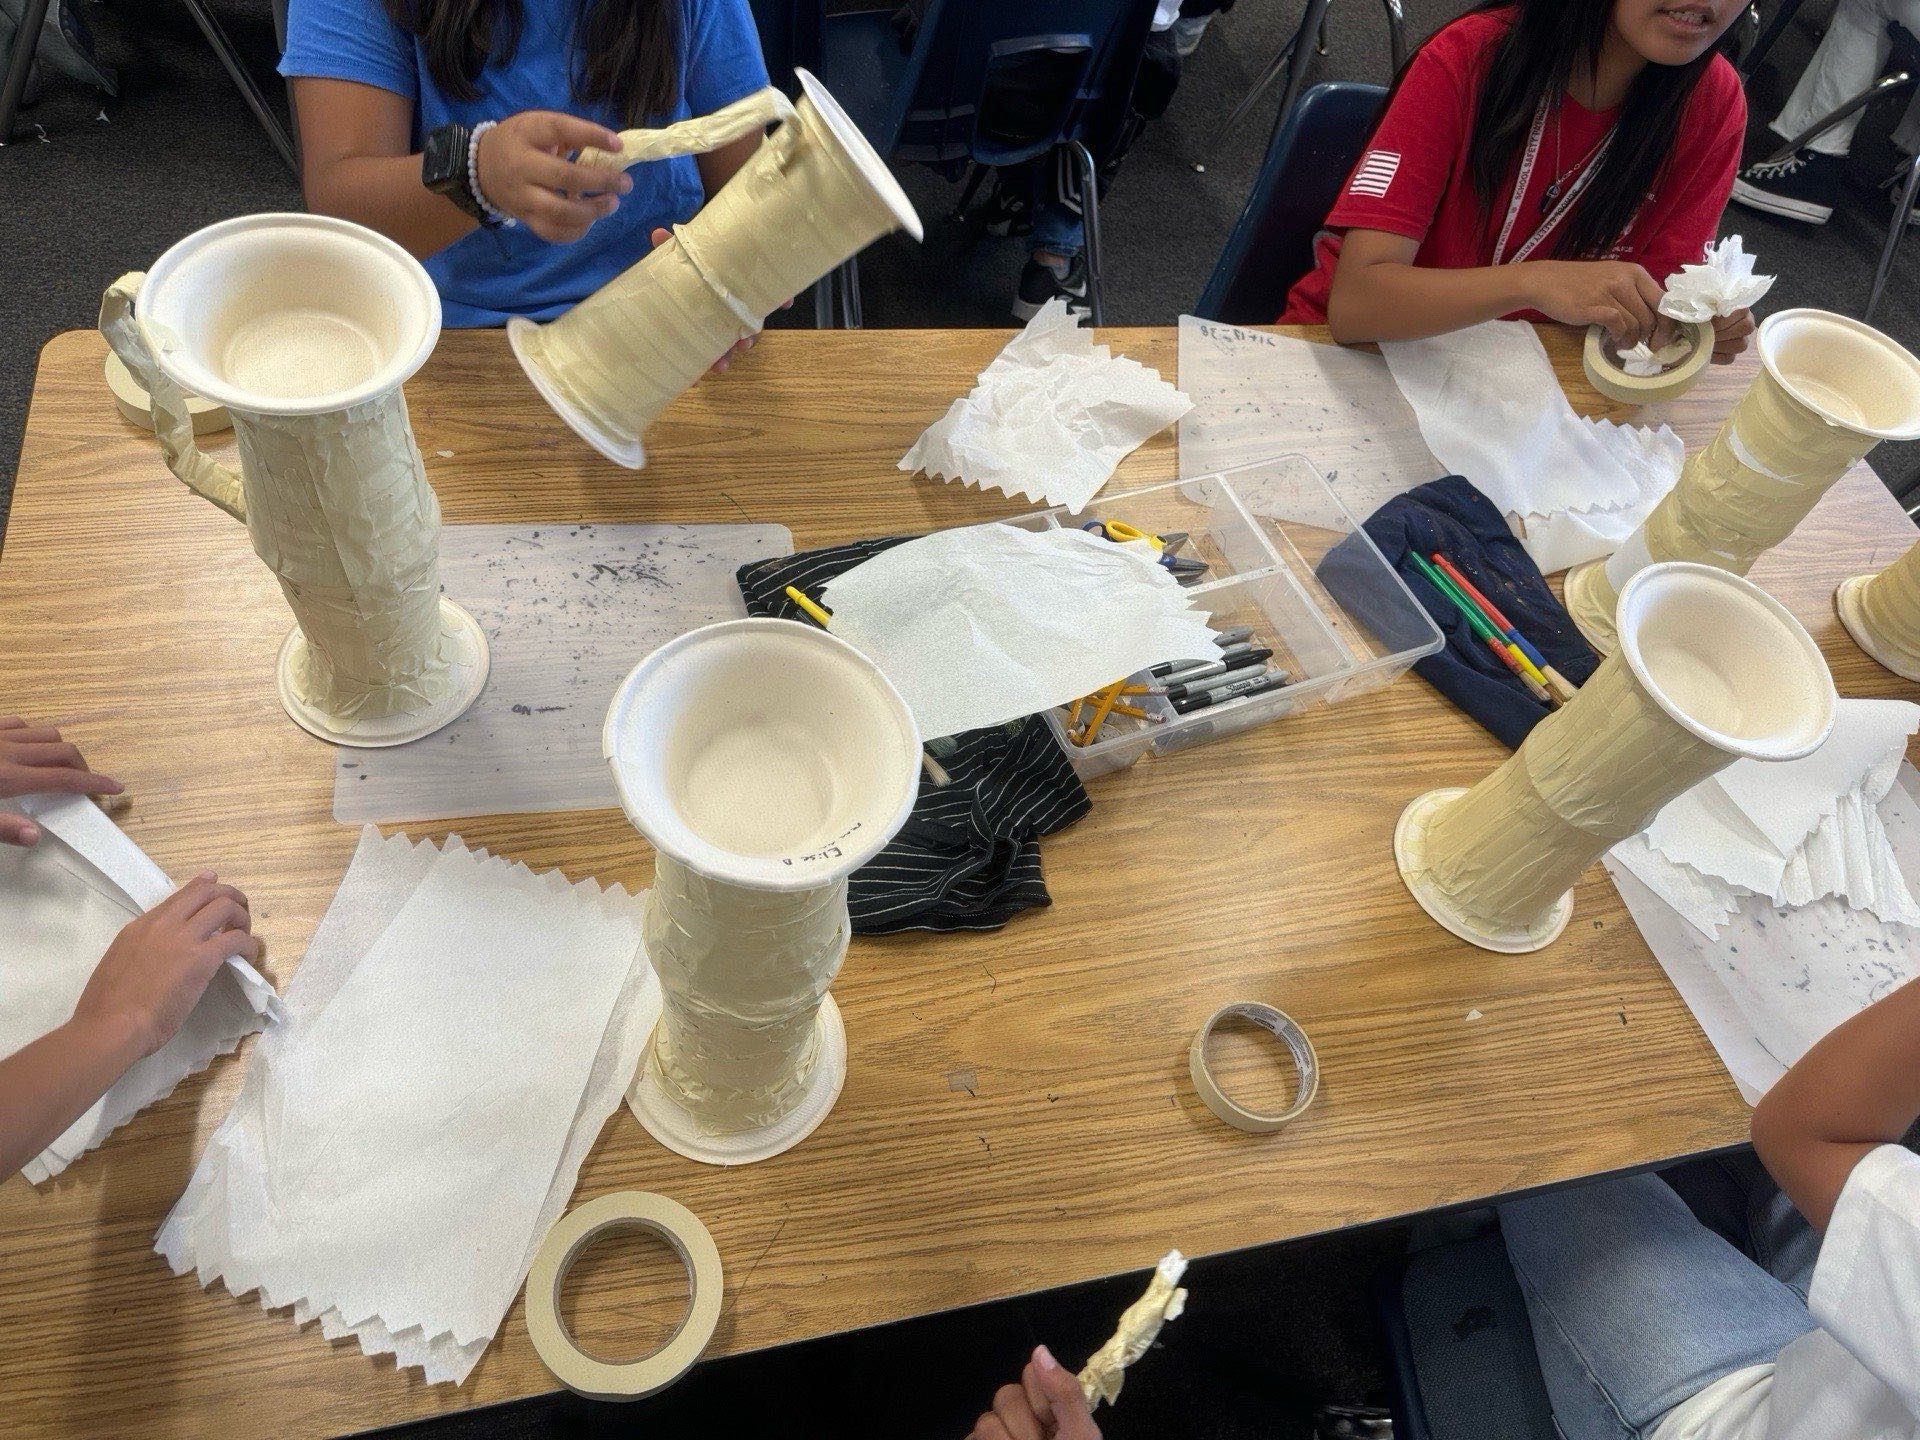
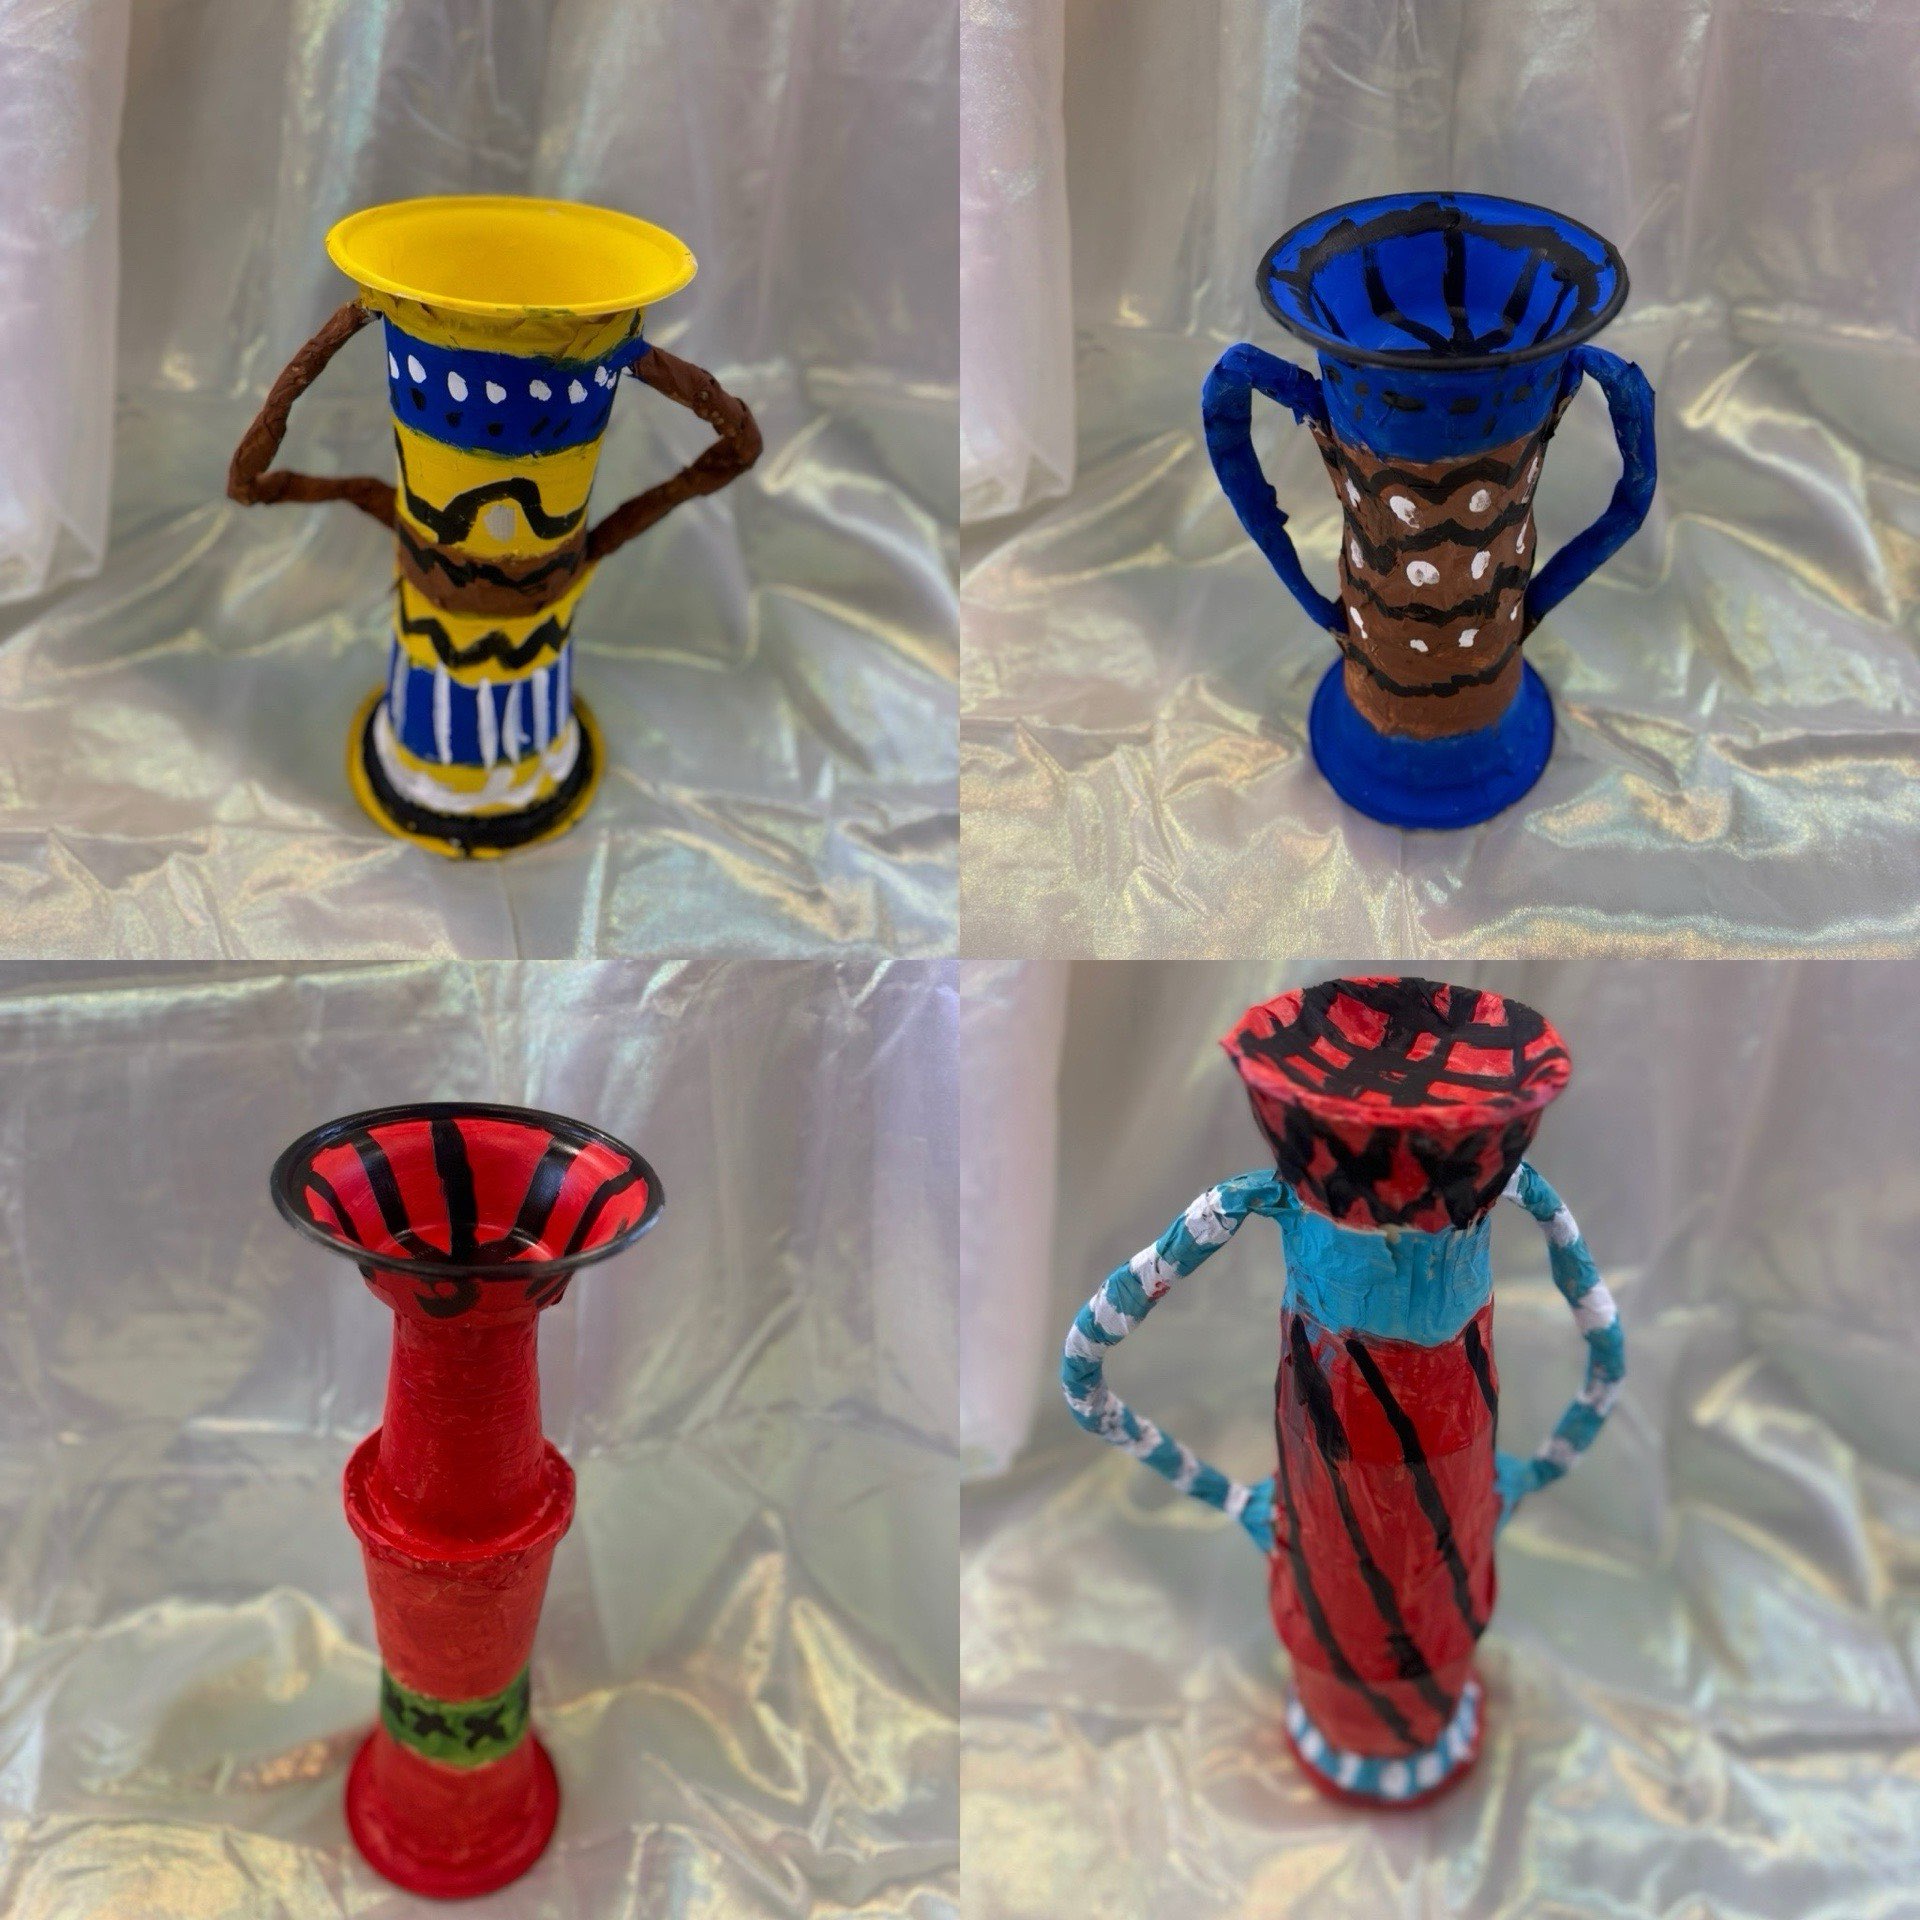
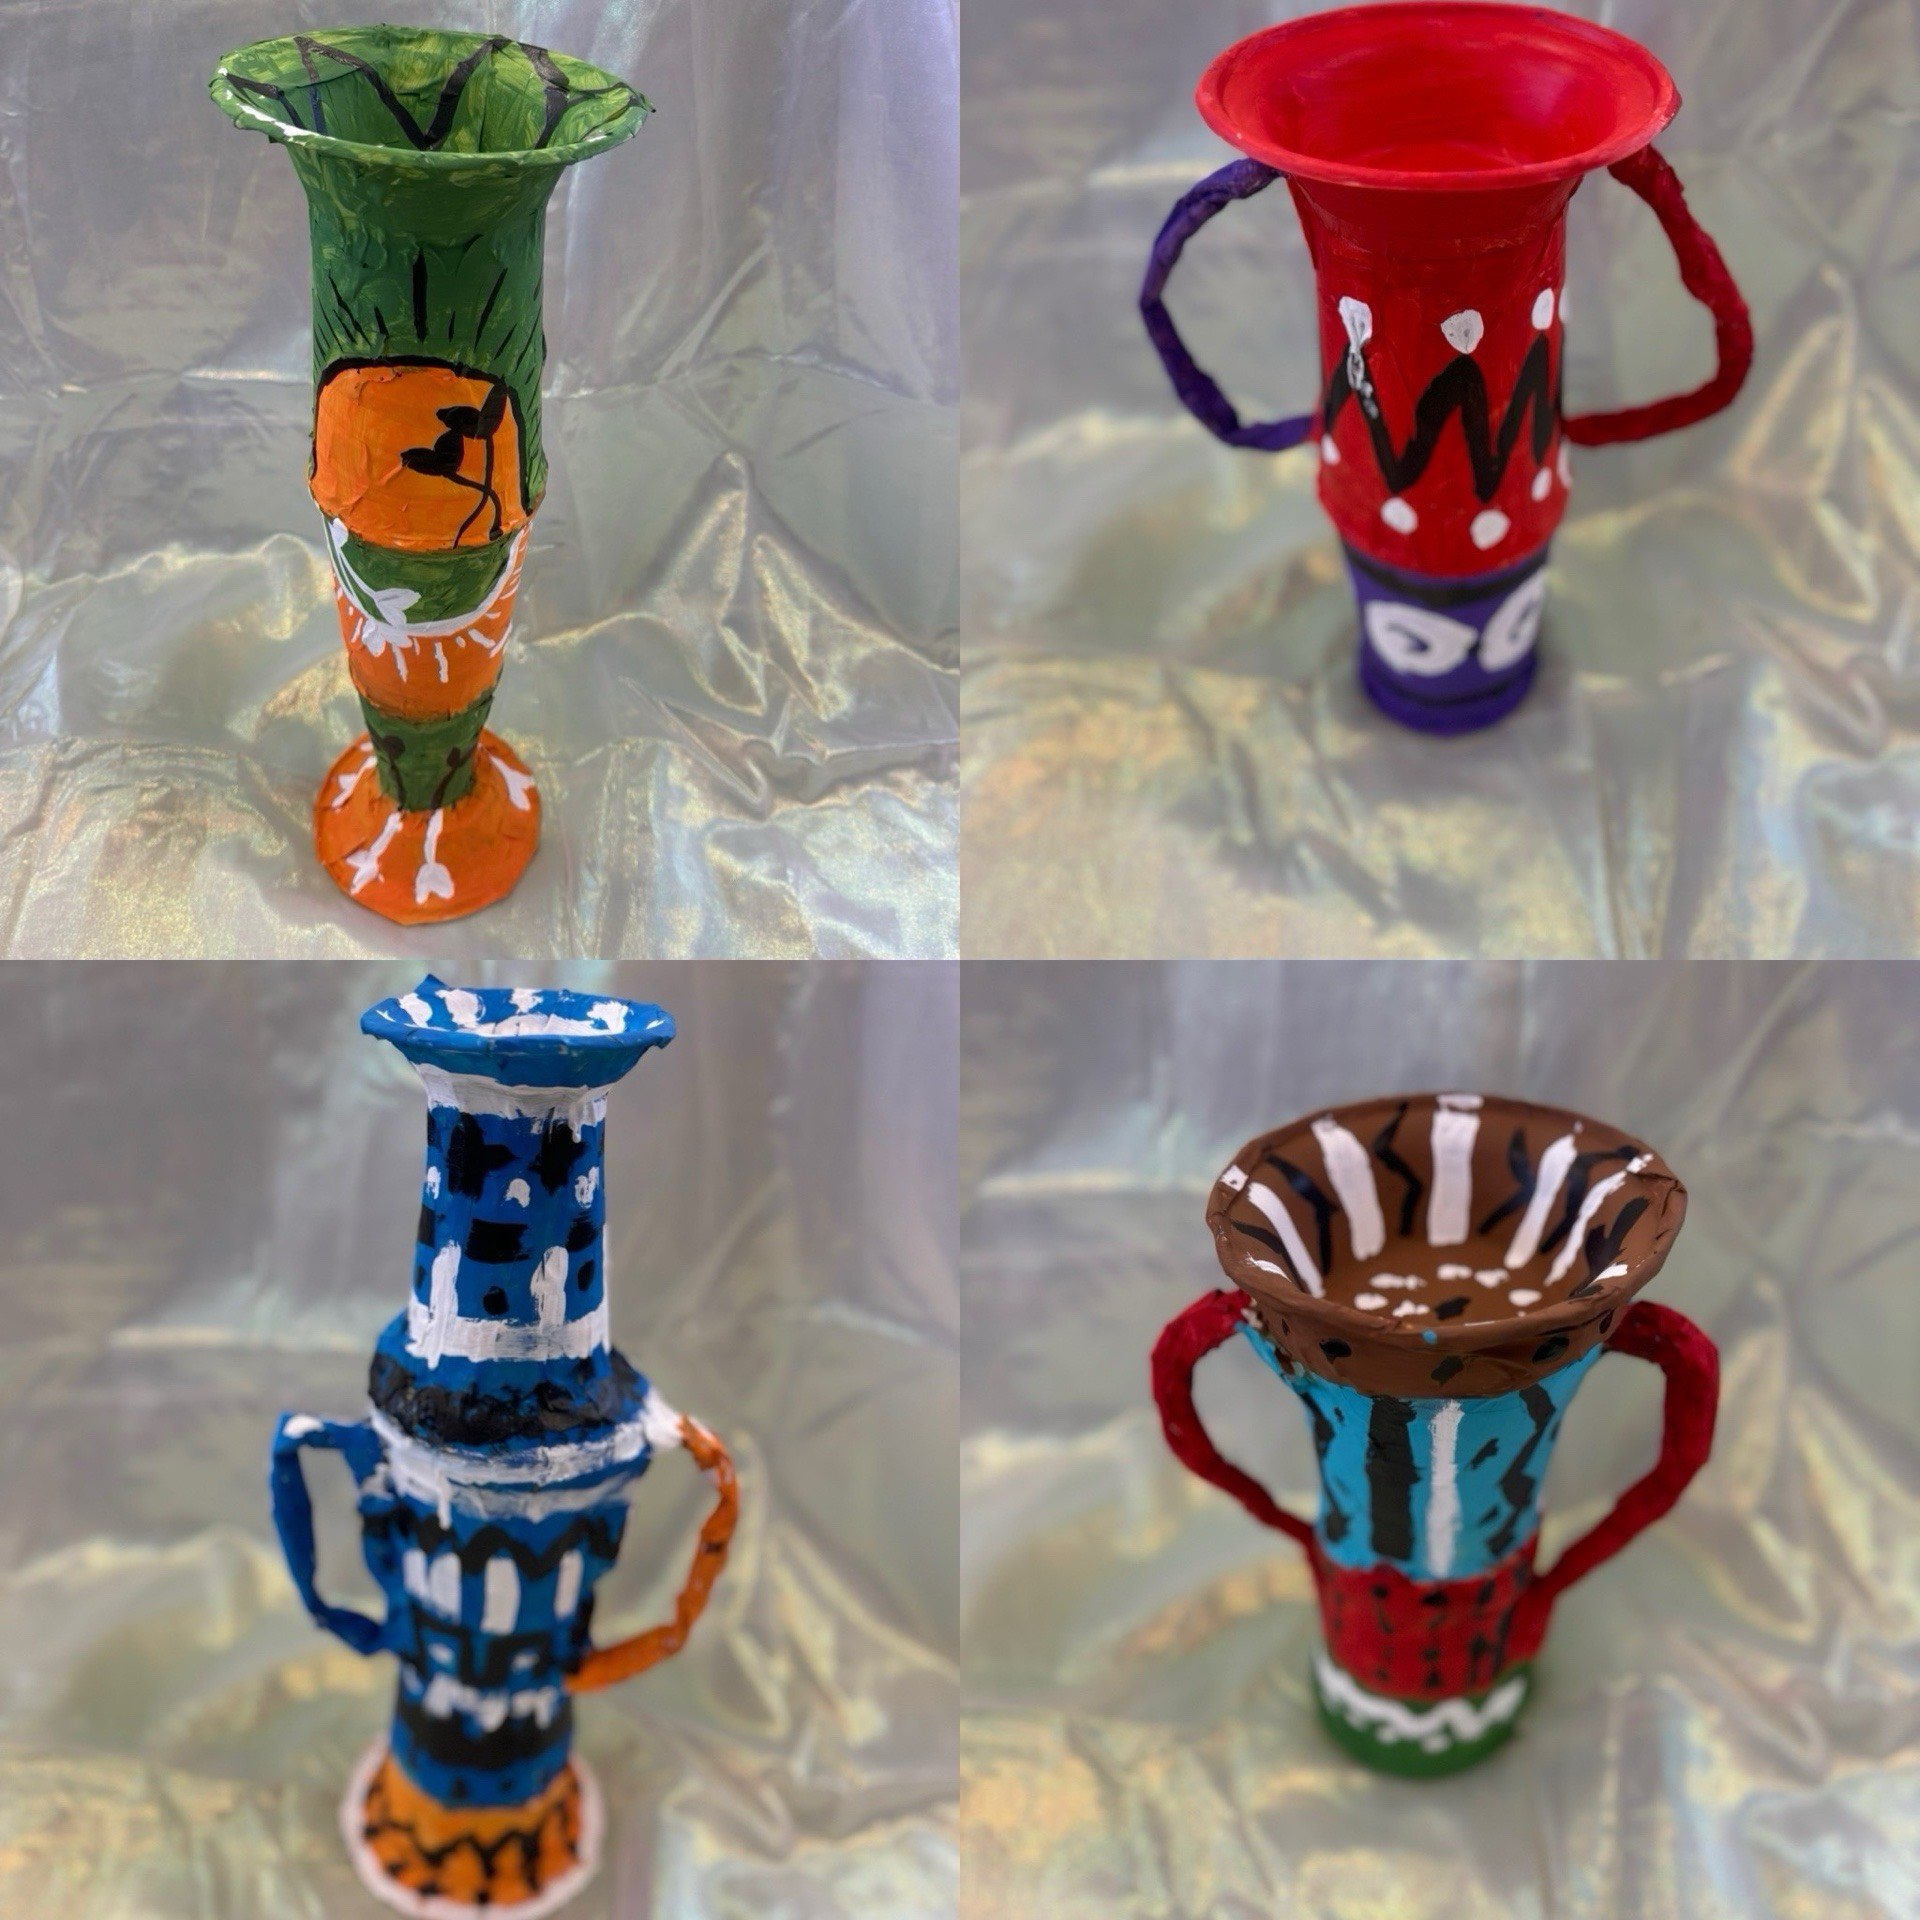
5th graders looked at Amphorae from the Greek and Roman era and we had a class discussion about how these were used to store grains, water, oils and fish and how they were made from clay. We compared this information with how food is stored these days - in plastic bags, containers and jars that are readily available for purchase in the stores. We looked at the geometric line designs and patterns on the Amphoras as well.

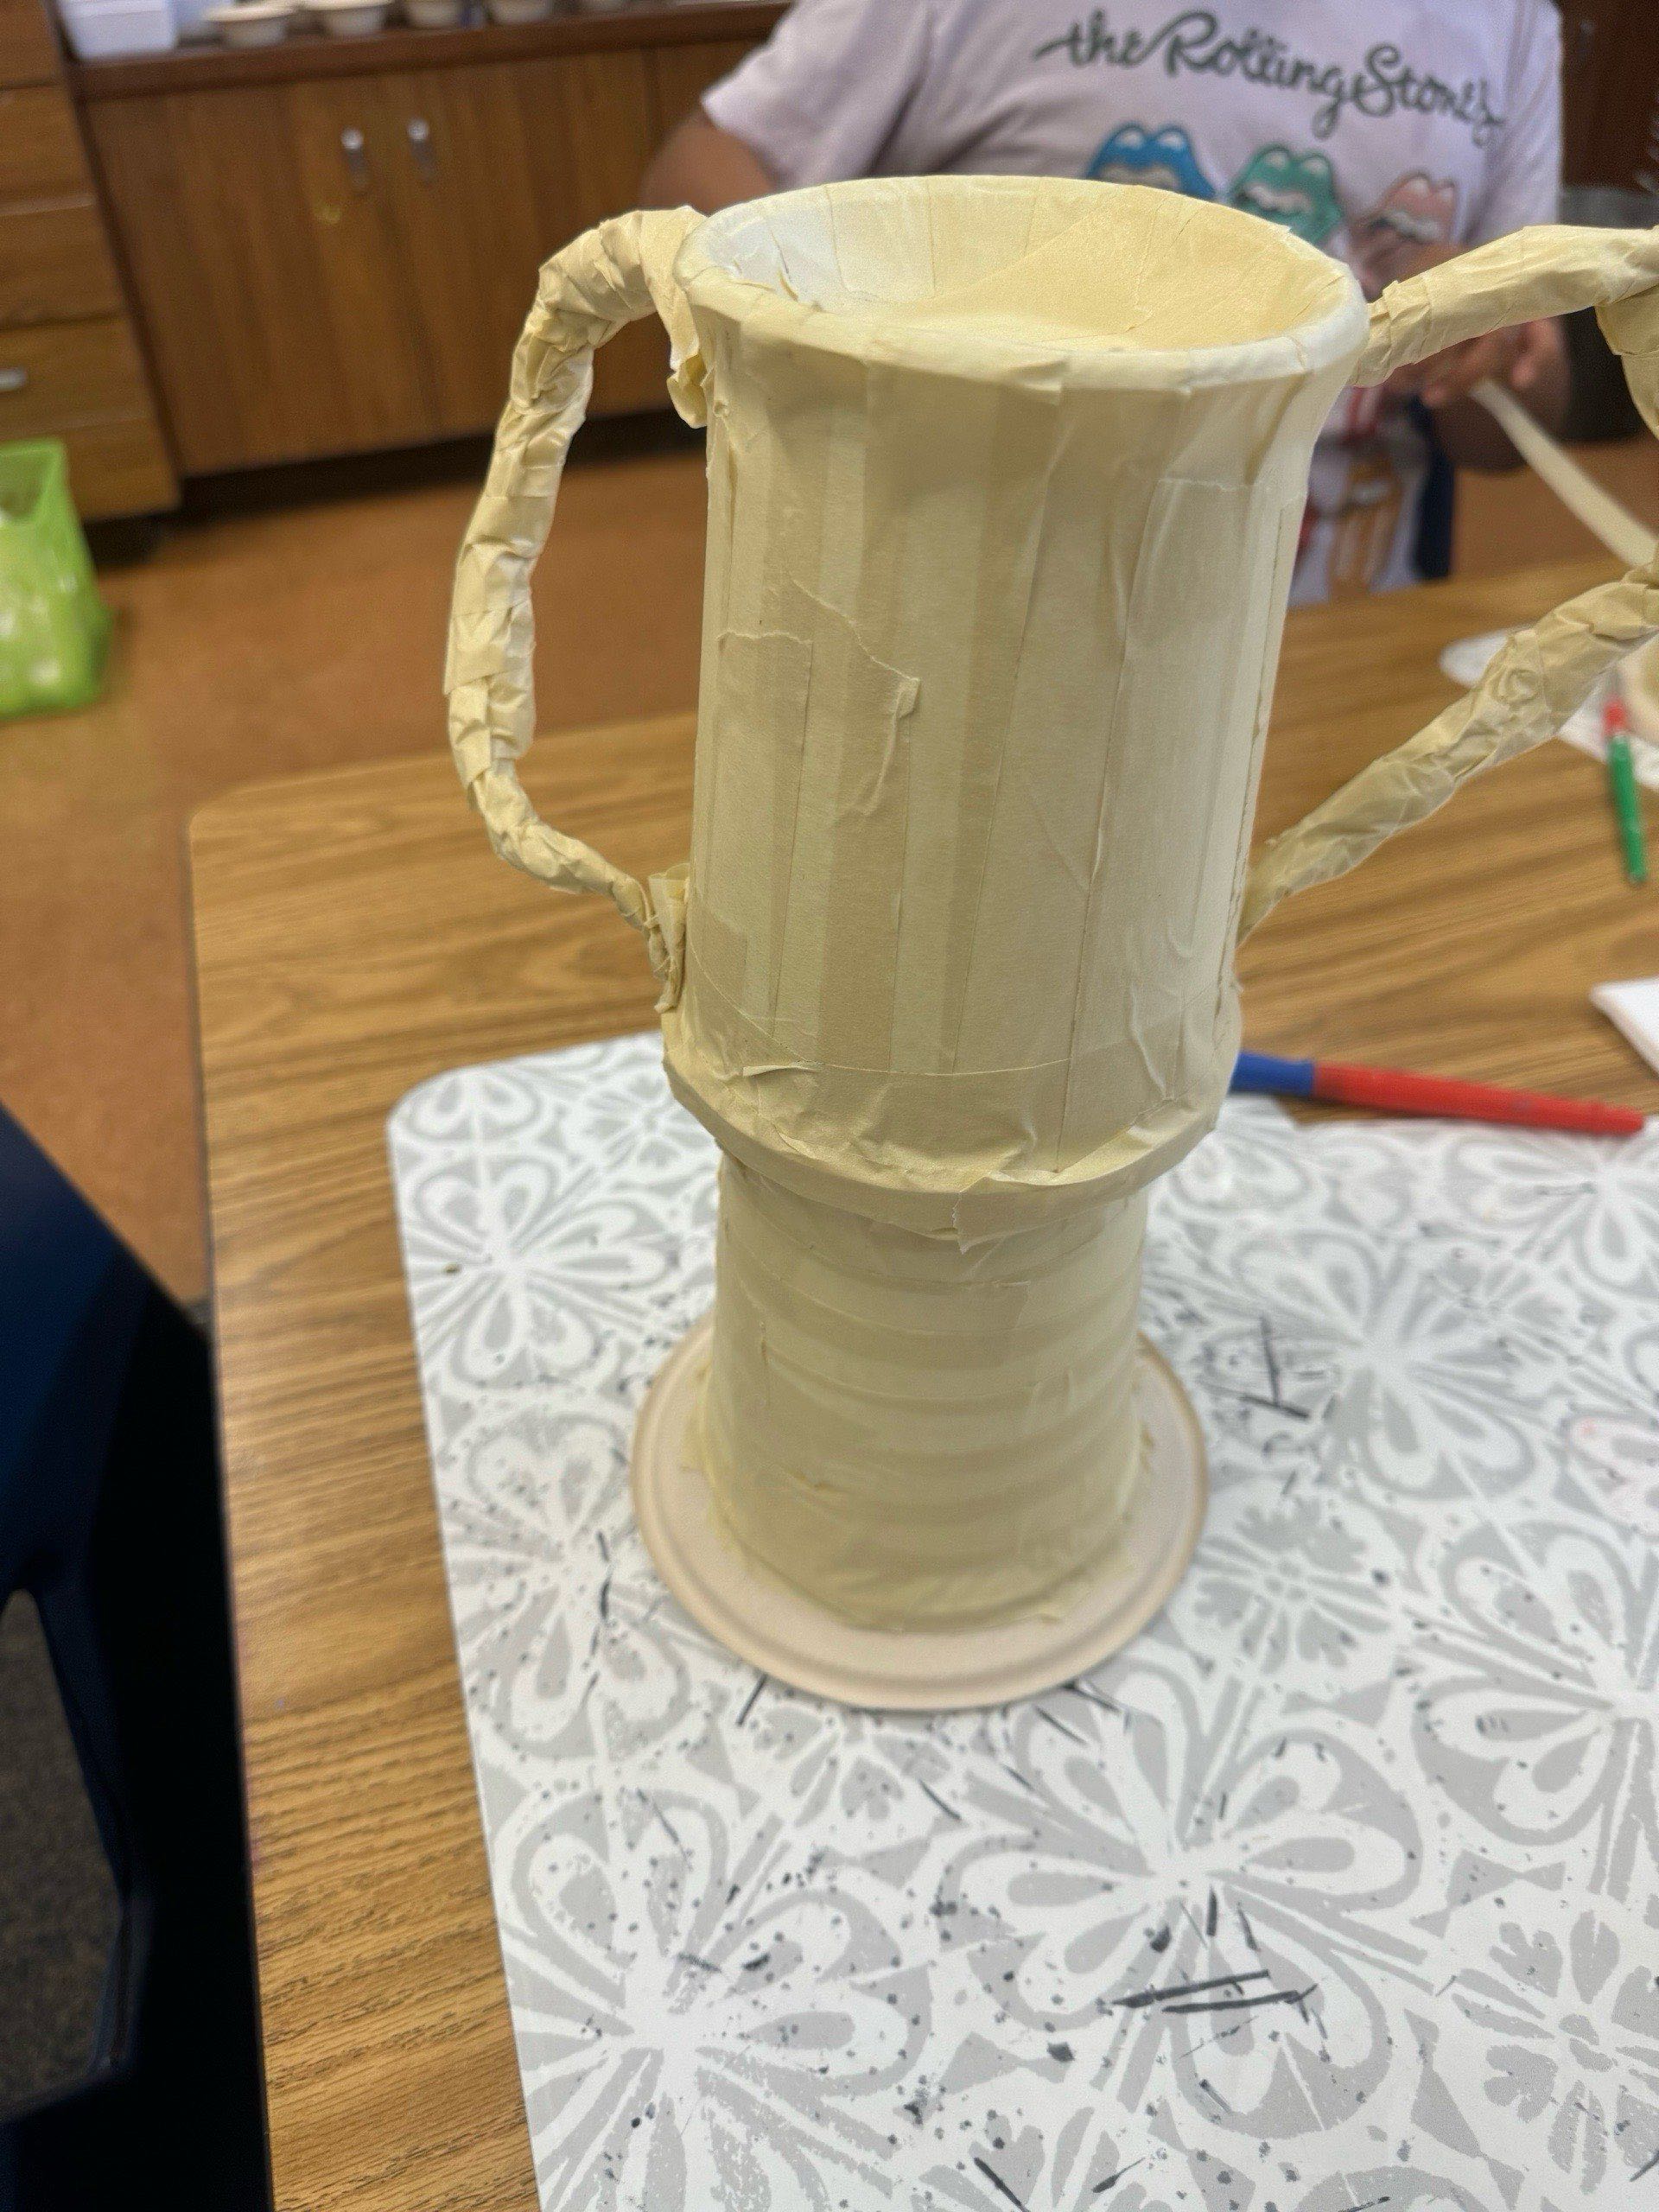
As a warm up, we created 15 different lines on a piece of paper to combine and use on our Amphora when done. I gave each students 2 32 oz. paper soup containers, 2 paper bowls with the option to use small plastic bowls and cups if they wanted to.I showed students 2 ways to arrange and combine the 2 soup containers and lids with different ways to also use the plastic bowls and cups. We first used small pieces of white masking tape to keep the pieces in place and then used long pieces to cover the Amphora. 


During our 2nd class students covered their work in long pieces of masking tape and also added 2 handles by crushing 2 pieces of paper towels lengthwise, covering them with masking tape and adding them to their Amphora symmetrically. 

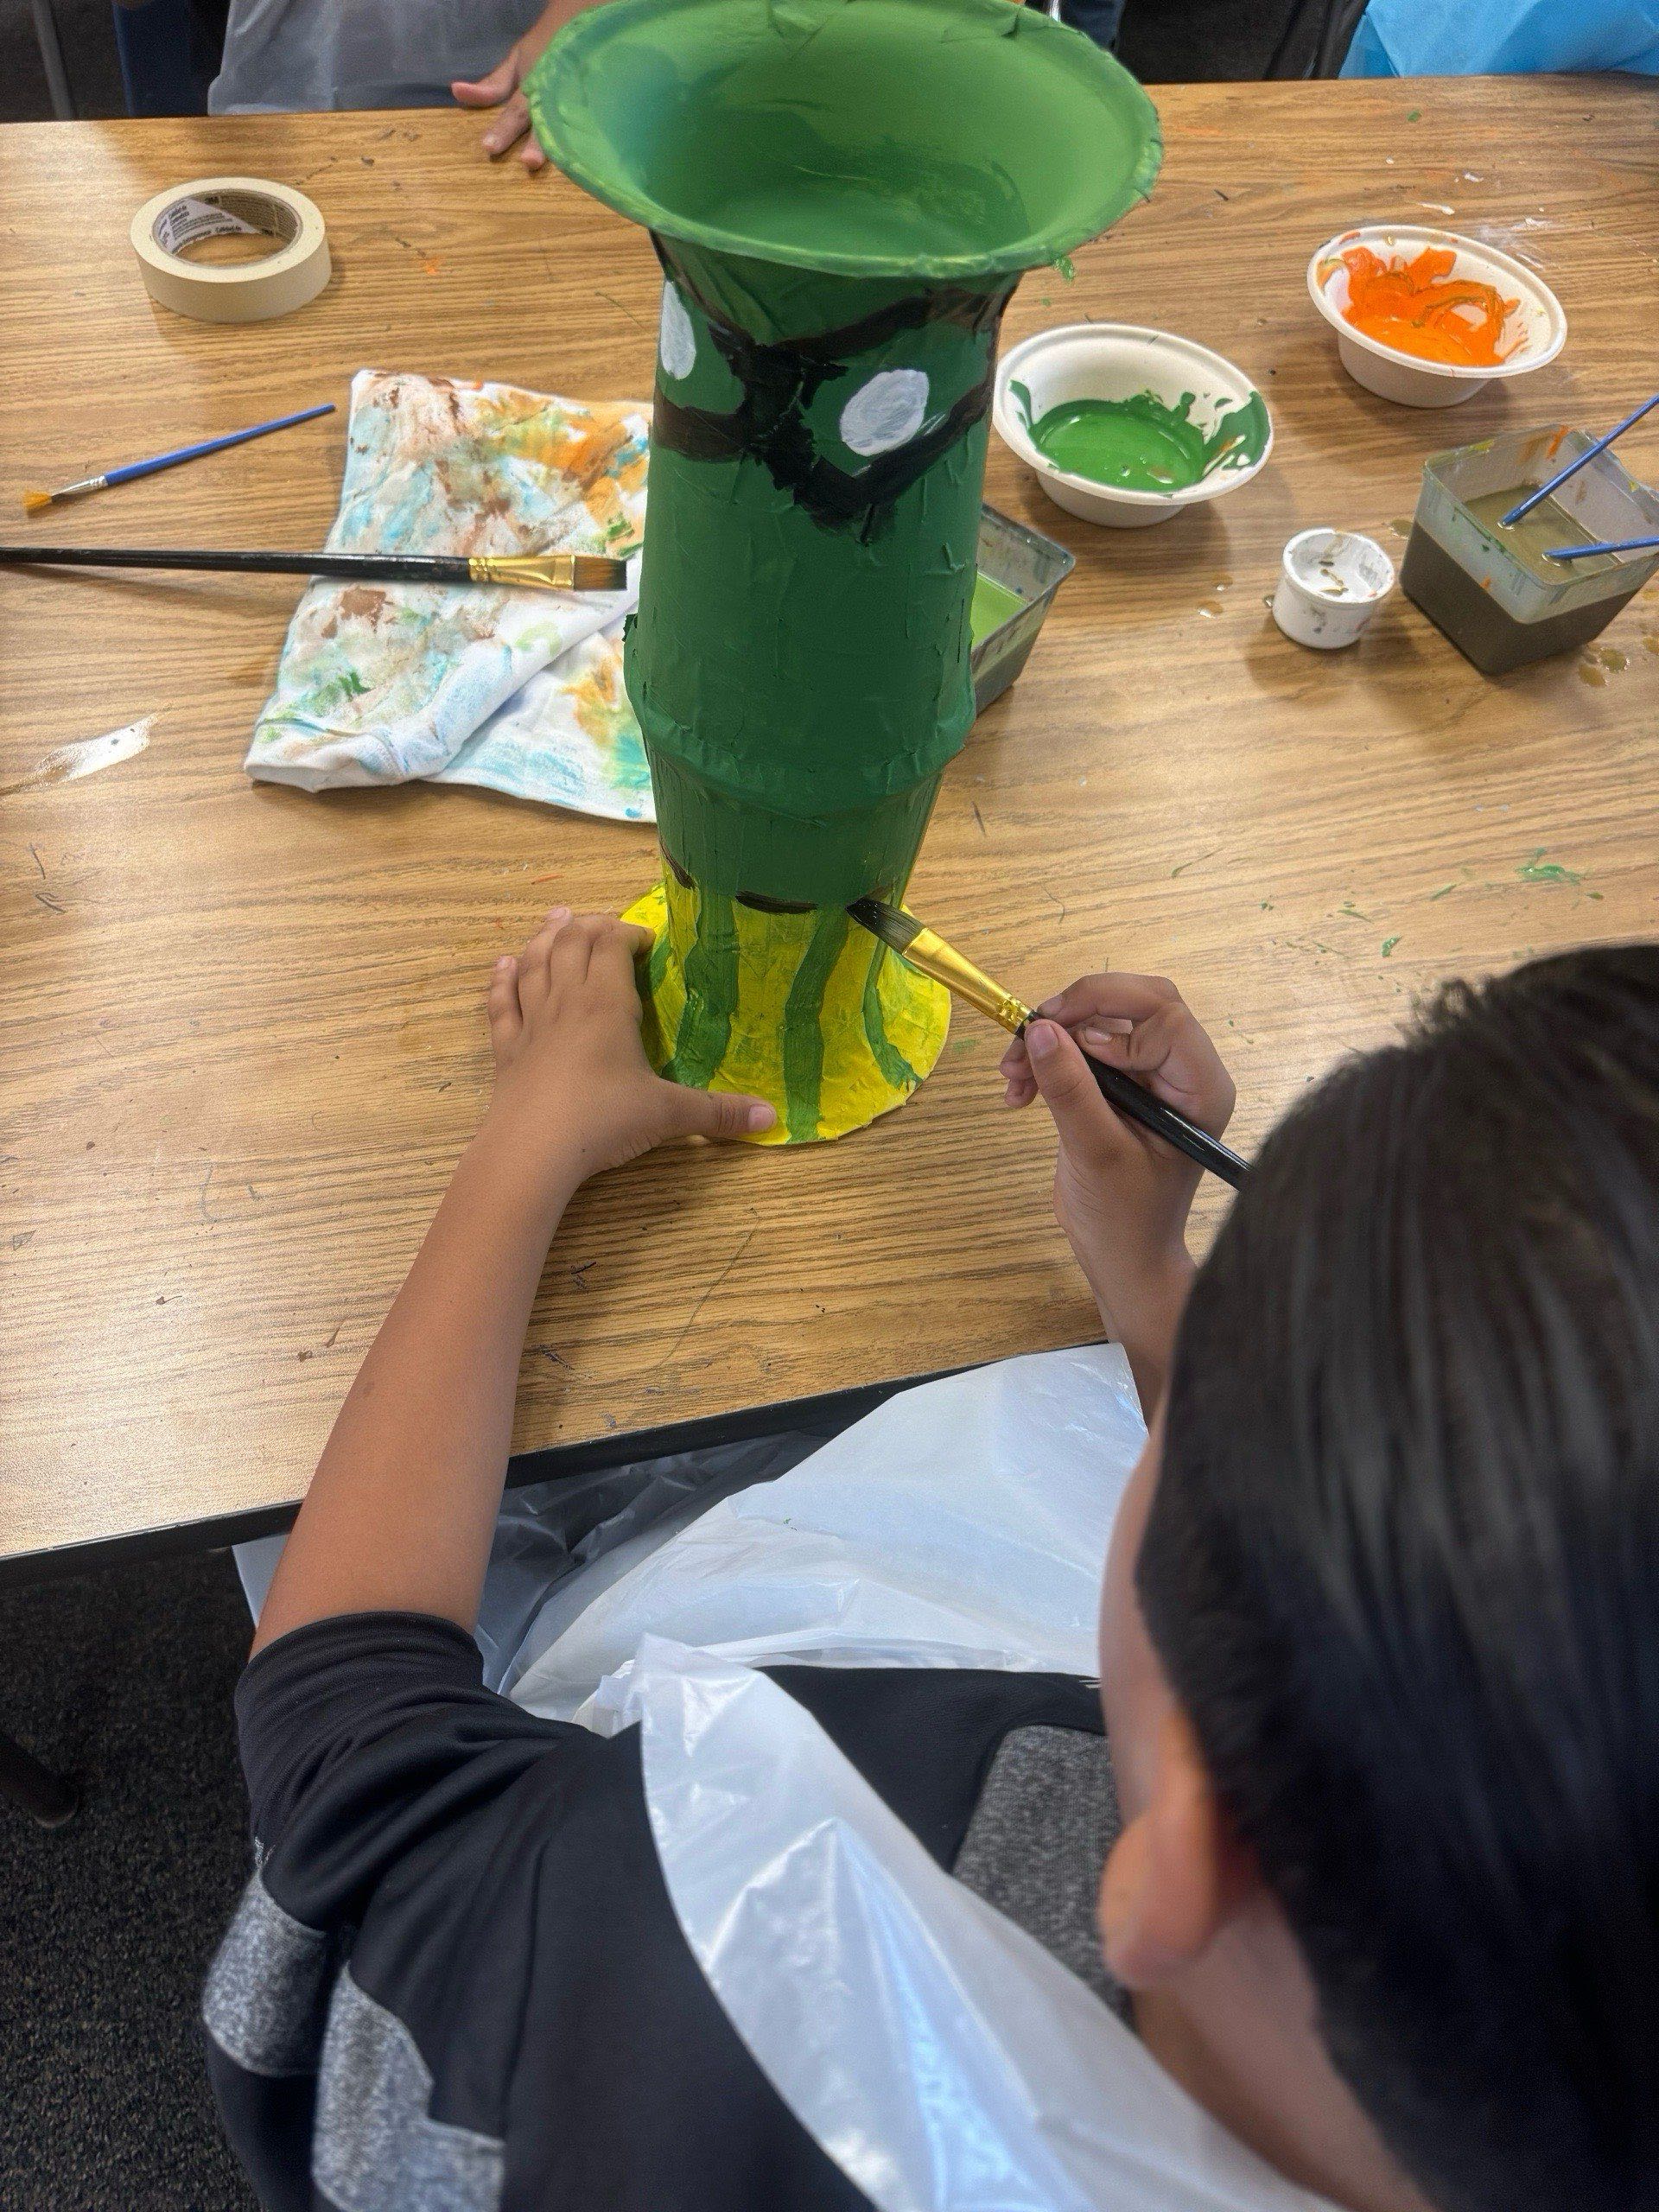
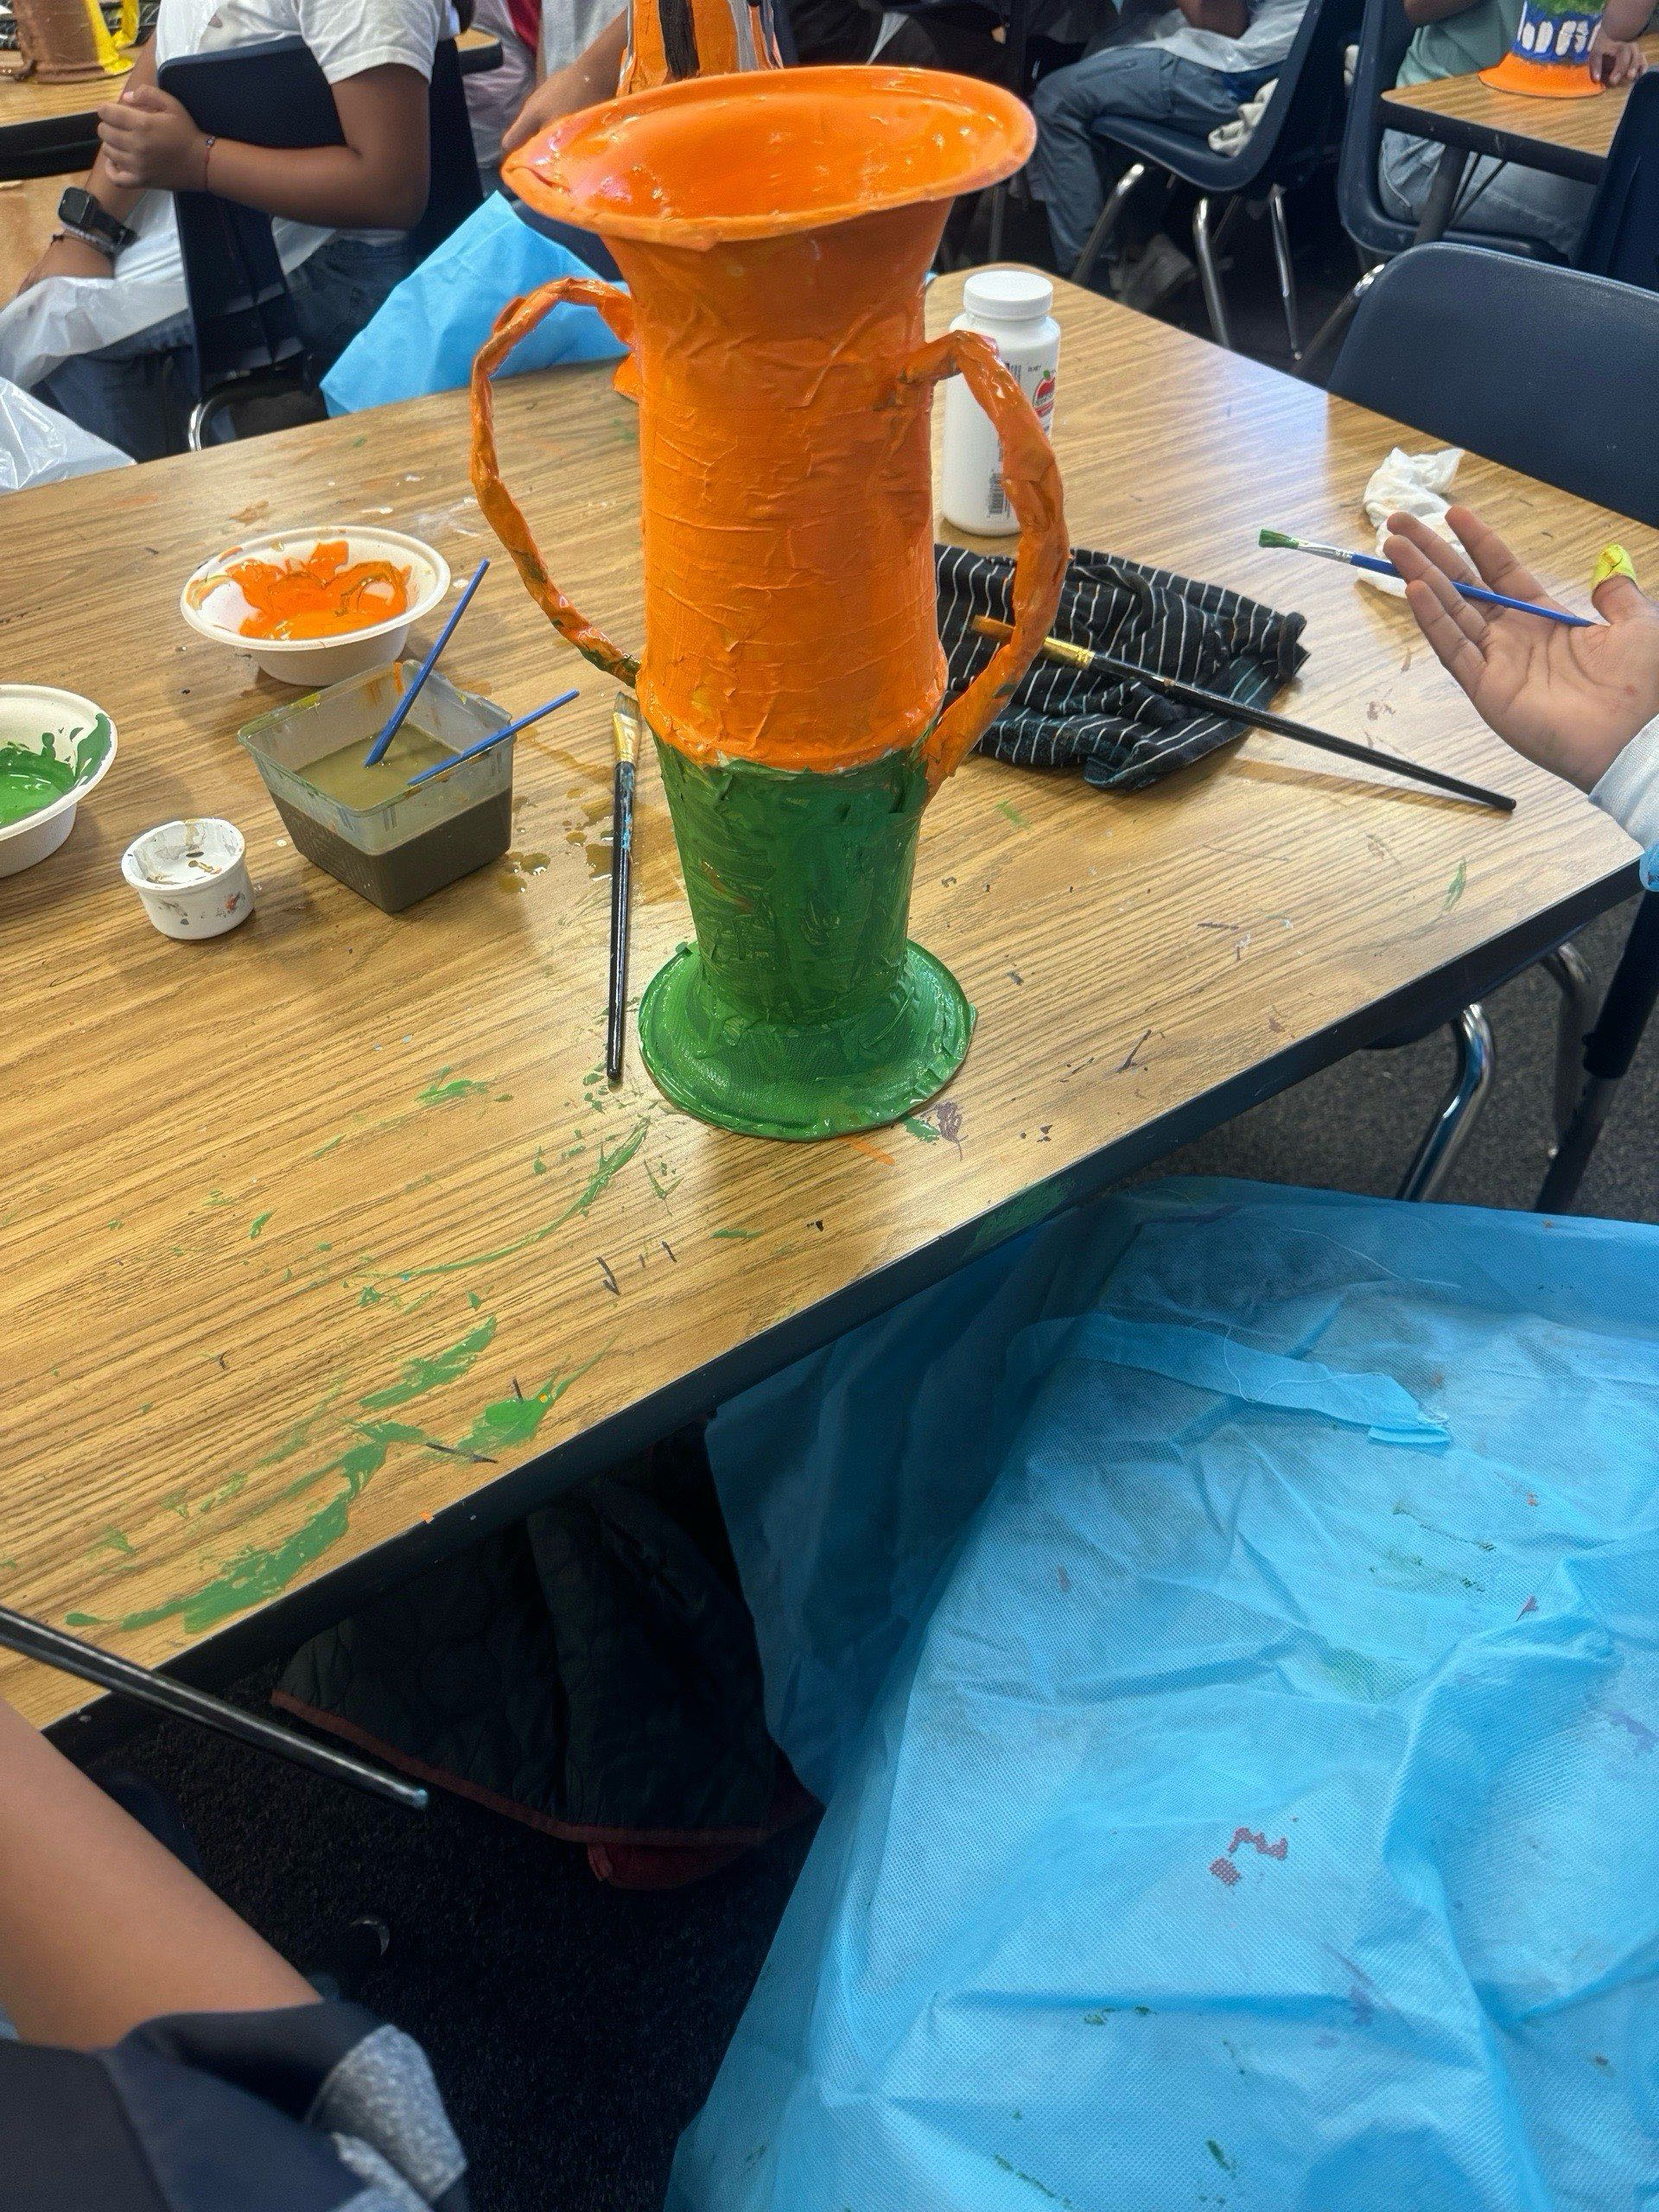
During the 3rd class students added the base color(s) to their Amphora using acrylic paint. I gave each table 2 colors with thick, flat paintbrushes and showed them how to take their time to spread the paint so it wouldn't pool in one spot.

During the final class, I gave students white and black acrylic paint with narrow, flat paintbrushes to use and add line patterns by looking at lines from the first class.

This was a long project and I was happy to see the engagement from students. It was great t see the stamina they are building, risks they are taking, the problem solving skills they are developing, the perseverance and not to mention the beautiful works they created!!


Week of 12/16/2024 - 4th and 5th grades

 4th graders returned this week to create digital motifs ! We looked at the works of Bauhaus artist Anni Albers and noticed how she had crea...